I've posted these two hacks previously, but old tricks can be useful again and again.
My son and daughter-in-law are celebrating birthdays this week!. I thought I'd get out to a store long before now to pick up more gift wrap. As you can guess, that just didn't happen this year.
For my daughter-in-law's 3 gifts, I had 2 large sheets of pink tissue, 1 small sheet of black and white striped tissue (from a Sephora birthday freebie two years ago), and some silver holiday curling ribbon. In addition, I printed another sheet of homemade birthday gift wrap, a tip that I posted about in 2019.
Here's how the wrapping went:
Gift no. 1
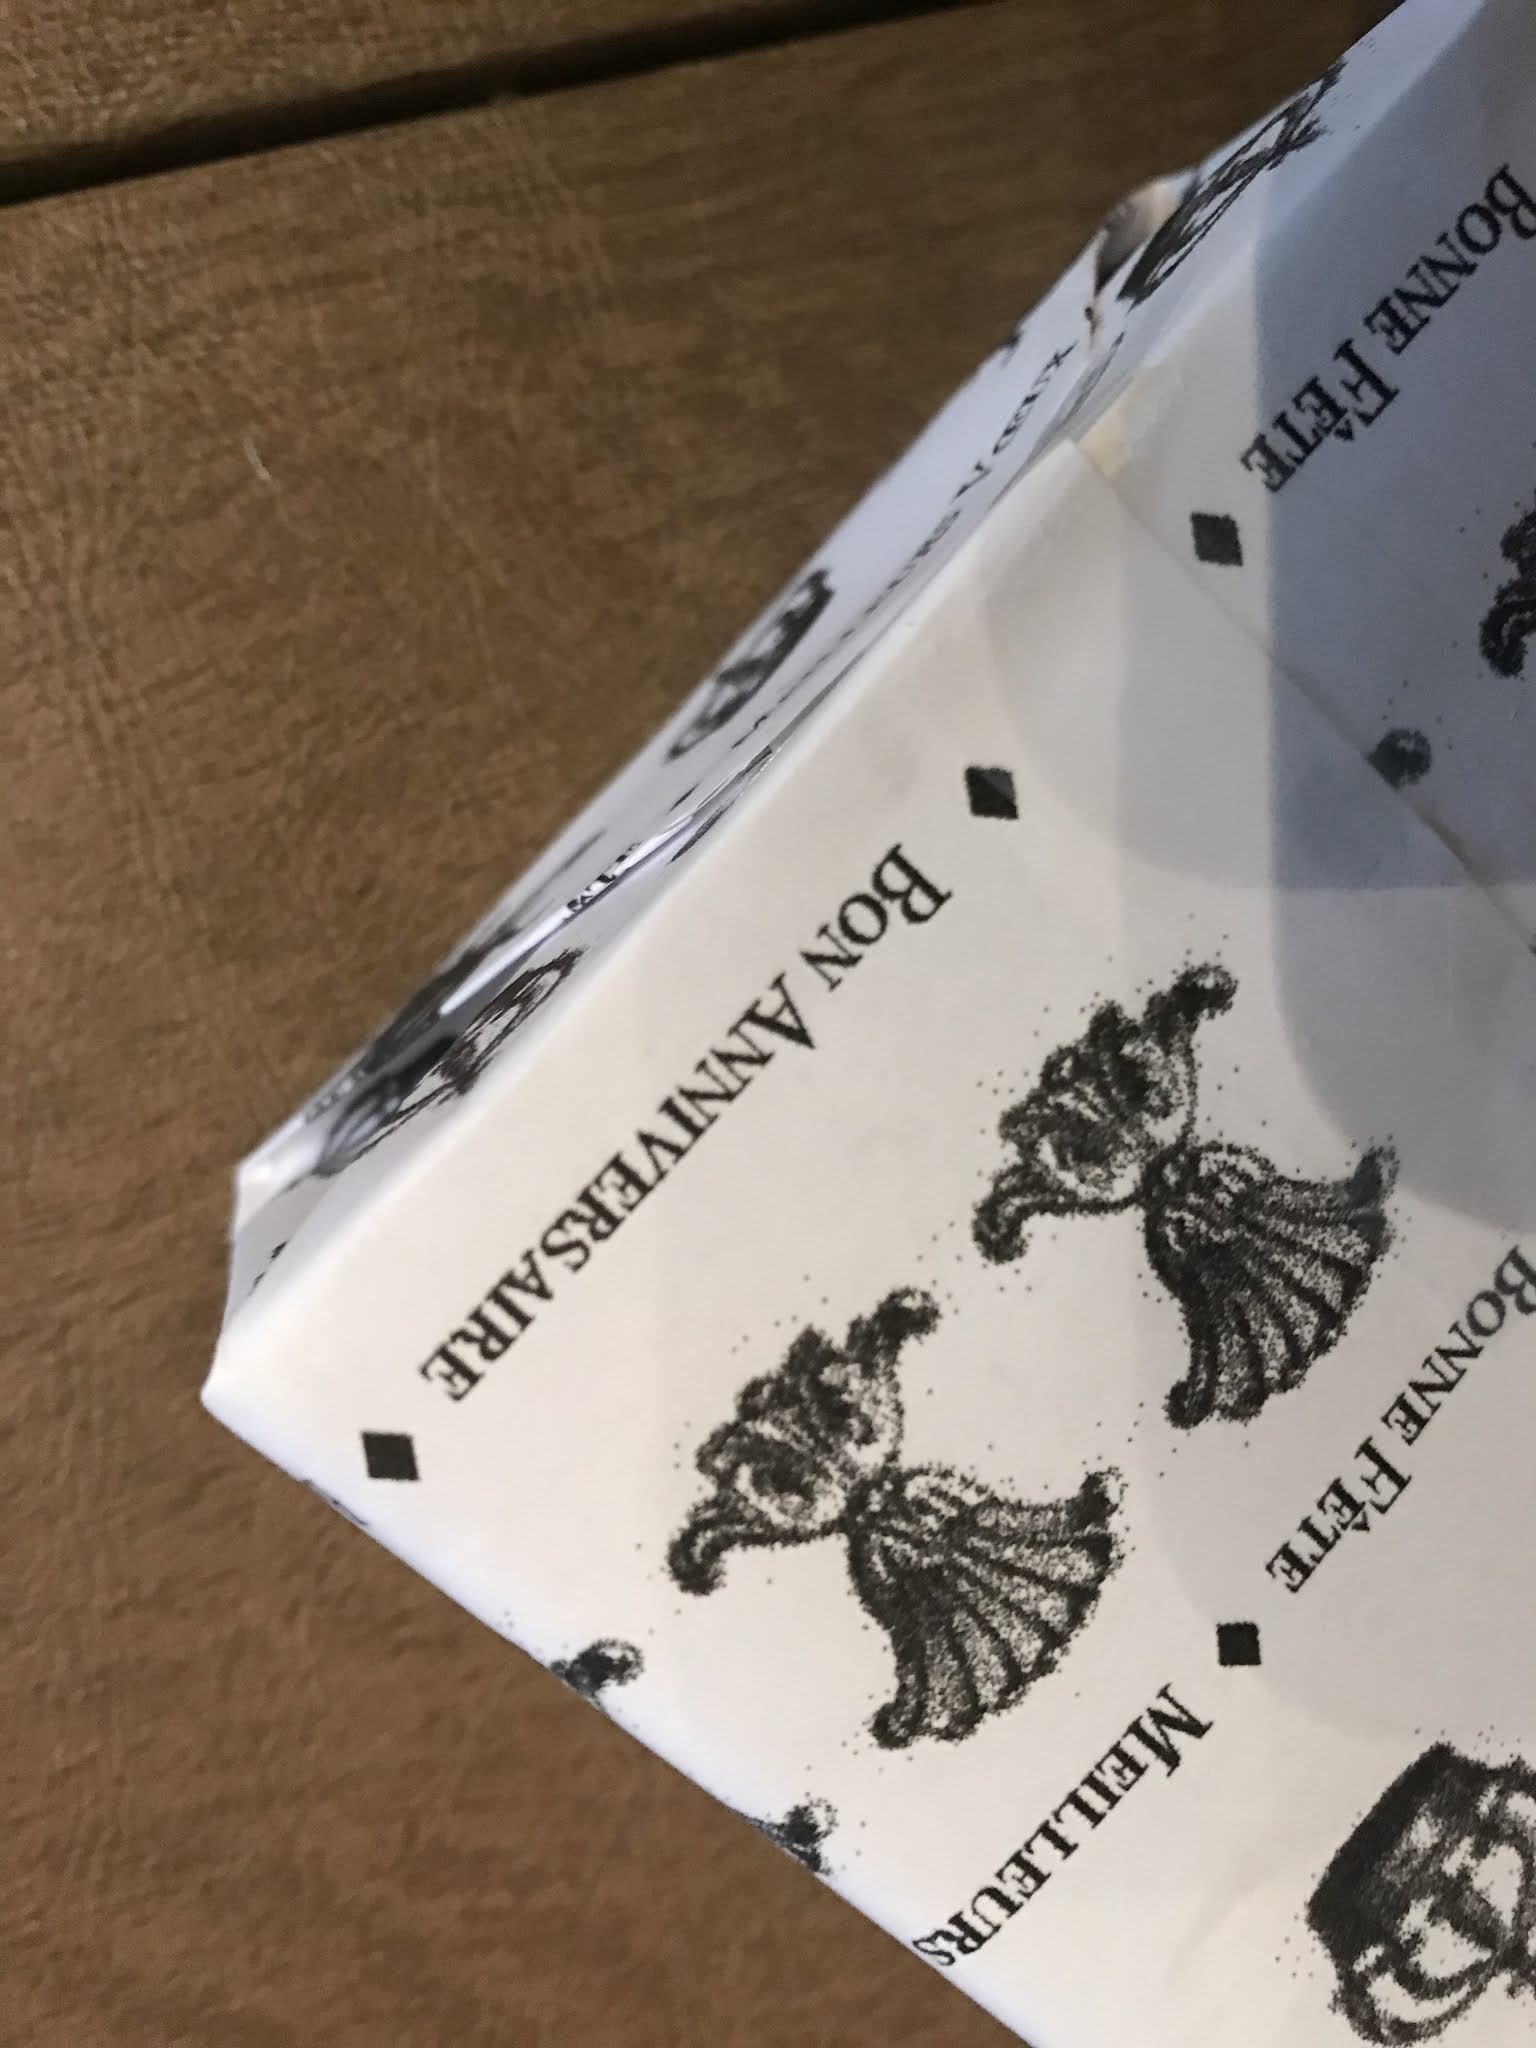
gift wrap hack -- wrap the package on the diagonal to save paper
the sheet of tissue was too small to wrap with the traditional method

turning the box on the diagonal means less paper is needed
(I placed a sheet of white copy paper on the top side of the box - here seen as under the box - so the label would not be visible through a single layer of tissue.)

fold up opposing corners and tape
fold in and up remaining corners to cover the rest of the package

once the package is flipped over, it looks well-wrapped
added some shiny silver curling ribbon to finish the package

Gift No. 2
gift wrap hack -- turning a sheet of paper into a gift bag
I had an assortment of small items for which I wanted a small gift bag. I used a single 9 X 11-inch sheet of homemade birthday wrap. A 9 X 11-sheet can make a bag that is about 4 inches wide, 1 inch deep, and as much as 6 or 7 inches tall. I chose to make a 4 X 1 X 5-inch bag.

I found a box with similar width and depth dimensions to the size of bag I desired. The length of the box simply overlapped the edge of the paper -- not a problem for this.

I wrapped the sides of the paper over the box and taped the paper side together (but not onto the box itself).

I trimmed the excess length of the paper, so that my bag base would be neater. Then I folded the remaining bottom end of the paper as I would do when wrapping the ends of a package -- sides in,

flaps down and taped

I creased the corners all around the box
before carefully sliding the box out of my newly-formed bag.

I added handles with two short lengths of black ribbon by threading the ribbon through holes punched in the top of the bag and stapling together the ends of each ribbon (overlapped) inside the bag.

Once filled, I added a crumpled half of the striped tissue to the top.
Obviously, a single sheet of copy paper makes a very lightweight bag, the sort that would not support being held by the handles alone if the gift has much weight.

Gift no. 3
No hack, just wrapping an upright gift in the second large sheet of pink tissue, other half of the striped tissue, and a bit of the silver ribbon.

I'm pleased with how they turned out and I hope my daughter-in-law will be too!
