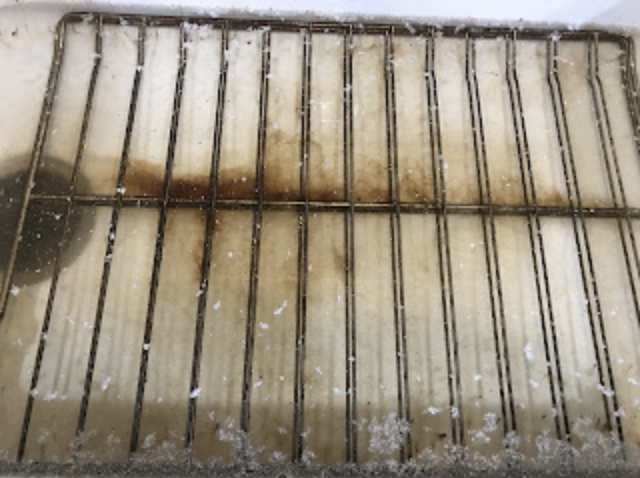
After the holiday baking and roasting season, one of the first jobs on my spring-cleaning list was to clean the oven. I didn't start out to clean my oven the hard way. In fact, my plan had been to use the self-clean feature. I set the oven to "clean" then sat down to eat my lunch. I was actually looking forward to the extra heat the cleaning cycle would give to the kitchen. Out of the corner of my eye I thought I saw a flash. I looked over to the oven and nothing. A minute later, another flash. And again looking at the oven, nothing. Then a bunch of flashes and I caught those. A few seconds later, a little fire broke out inside the oven. Not knowing what to do, I grabbed the box of baking soda (thinking I would douse the little fire) and turned the oven cleaning off. Only, the oven would not unlock as it was still too hot to be safe.
So, I sat there, watching the little fire burn itself down, and after a minute, finally out. What worried me was that the little fire was burning right beneath the heating element. I was afraid the element could be damaged. When the oven finally cooled enough for me to open the door, I did. I waited for the interior to cool enough to get in there and scrape up the stuff that I should have scraped before cleaning. And before I knew it, I was cleaning my oven the old-fashioned way.
For my own health, I try to use non-toxic cleaning products as much as possible. Which means I don't use spray oven cleaners. As a bonus, what I do use for cleaning is often super duper cheap, using ingredients like vinegar, baking soda, hot water, and liquid dish hand washing soap. But as you know, cleaners like these also require a good deal of elbow grease to get the job done.
My oven cleaning technique was a bunch of scraping, scrubbing with baking soda and warm water, followed by scraping and scrubbing some more. I was able to get the floor of the oven pretty clean. The oven window was another story. Even though I'd just cleaned my oven in the fall, all that holiday baking and roasting left the window covered in baked-on grease splatters. I scrubbed that window with baking soda, a scrubbing sponge, some dish soap . . .and got no where. That's when I thought of scraping the glass with a paint scraper. I couldn't find the scraper that has a razor blade, but did find the flat edged one that I use when scraping old paint or varnish from furniture I plan on refinishing. But surprise, surprise, this actually worked. I first tried to scrape the dry window with little success. Then I thought to wait until just after I baked something and try cleaning the window when the oven was just a little warm. This was slightly better. Next, I added some baking soda and rubbed it around with a wet cloth. This is when I had success with the scraper. After scraping until the window was nearly clear, I then polished off any little bits of grease with more baking soda and water.
What I noticed was the part of the oven window that I began on first, when the door was still slightly warm, scraped off more cleanly and with less effort than the half of the window that had fully cooled. The heat from the oven must slightly soften the baked on grease, much like a warm from the oven cookie comes off the baking sheet more easily than when fully cooled. And the thin baking soda paste must have also led to some softening of the baked grease. Good things to know for next time.
I still have the sides of the oven and racks to clean. I've worked enough for one day. I'll tackle those tomorrow.


