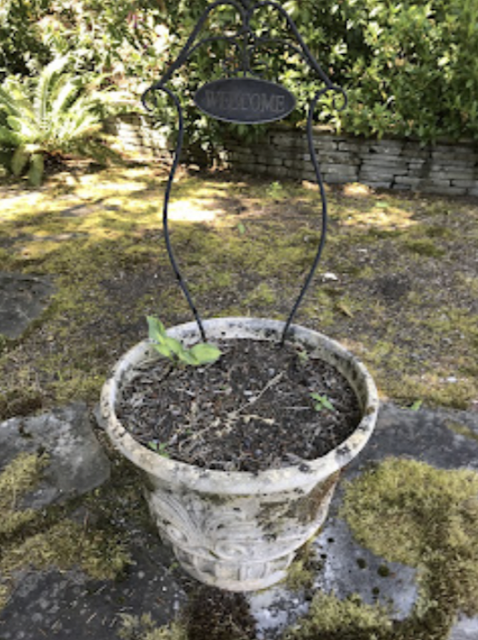
Is this the saddest "Welcome" pot you've ever seen or what? It sits on the patio in front of our front porch.
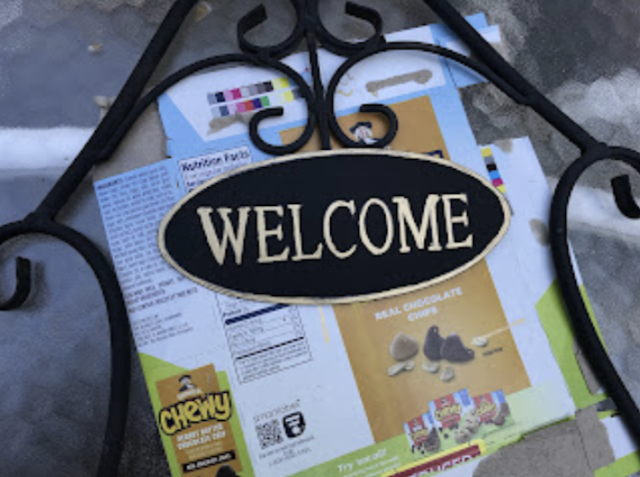
The other day I felt motivated to tackle that pot. I worked on the "Welcome" sign first. I got out my gold metallic paint pen that I use for various projects, mostly greeting cards.
I pulled the sign out of the pot and decided to free-hand the edge first to see if I could keep my hand steady enough to do the lettering, as well. I was basically going over the original gold on the sign.
Once the edge dried, I bit the bullet and tried going over the "L" as it seemed the easiest of all of the letters. When that went okay, I did the rest of the letters. It turned out good enough. This is the great thing about redoing very large spaces like the outdoors. When outdoors, most people don't get close up enough to see where little flaws may be, but instead focus on the overall picture. It's a welcoming impression that I was after, after all.
Once the gold paint dried, I gave the sign two light coats of the Rust-Oleum clear coat to seal against weather. If it lasts a year, that's great. I'll redo the sign next spring, if need be. I now know I can do it.
While waiting for the sealer to dry, I amended the soil in the pot with some fertilizer and topped it with a couple of inches of potting soil, then went in search of plants for the pot. I moved the tiny hosta from the "before" pot to a nice spot in the ground near other tiny hostas, so he won't be lonely. I found this gigantic hosta as part of an even larger clump of hostas in the backyard. I divided off a chunk with the spade and settled it in the pot. I started a bunch of these autumn marigolds from seeds I'd saved 2 summers ago, and they were ready and waiting for a place to grow. It's just a simple planting, but it looks way more welcoming than before.
And the finished "welcome" pot. Now doesn't that look heaps better than the "before" pot?
P.S. The pot's sides are spotted with moss. I saved myself some time and labor and left the moss in place. I like to think of the moss as "charm".


Yes, it certainly looks heaps better than the before. I never thought about putting hostas in a planter like that. You've got me thinking now.
ReplyDeleteHi Live and Learn,
DeleteIn the small downtown area of our town they have lots of planted pots along the sidewalk and many have hostas in them, likely because they do well in my area. One of these days I'll take a walk down there and photograph some of the pots. They really are pretty.
Oh, that's so pretty! I've seen tutorials for adding moss to the outside of pots to "age" them, so think of yours as naturally aged.
ReplyDeleteHi Kris,
DeleteI've seen instructions for adding moss, too. One idea is to "paint" buttermilk on the outside of a pot or planter. I guess the buttermilk is a good medium for the growth of moss. I think I've mentioned before that moss grows very well in my area.